Order & payment workflow
Amazon Pay button
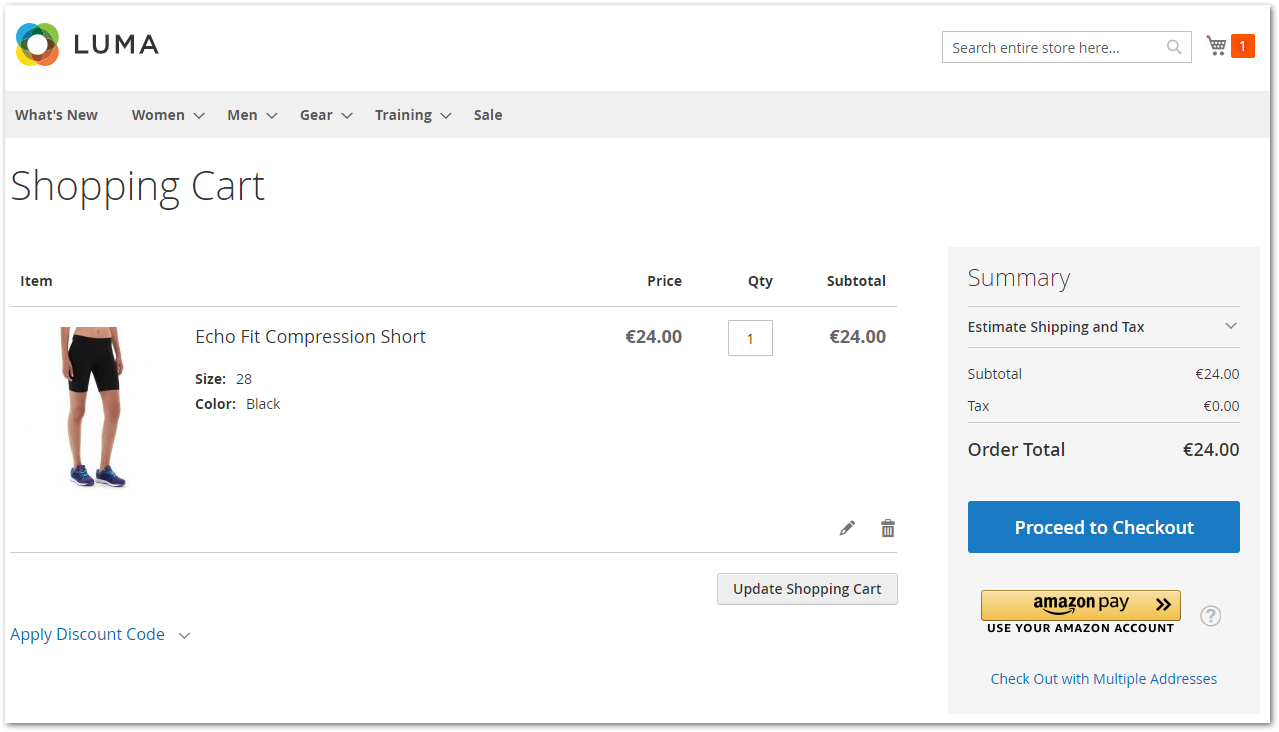
The Amazon Pay button appears on several locations in the shop:
- on the shipping step of checkout (default location)
- on the cart page (default location)
- on the minicart (optional, depending on Configuration)
- on product pages (optional, depending on Configuration)
- on the list of payment methods (optional, depending on Configuration)
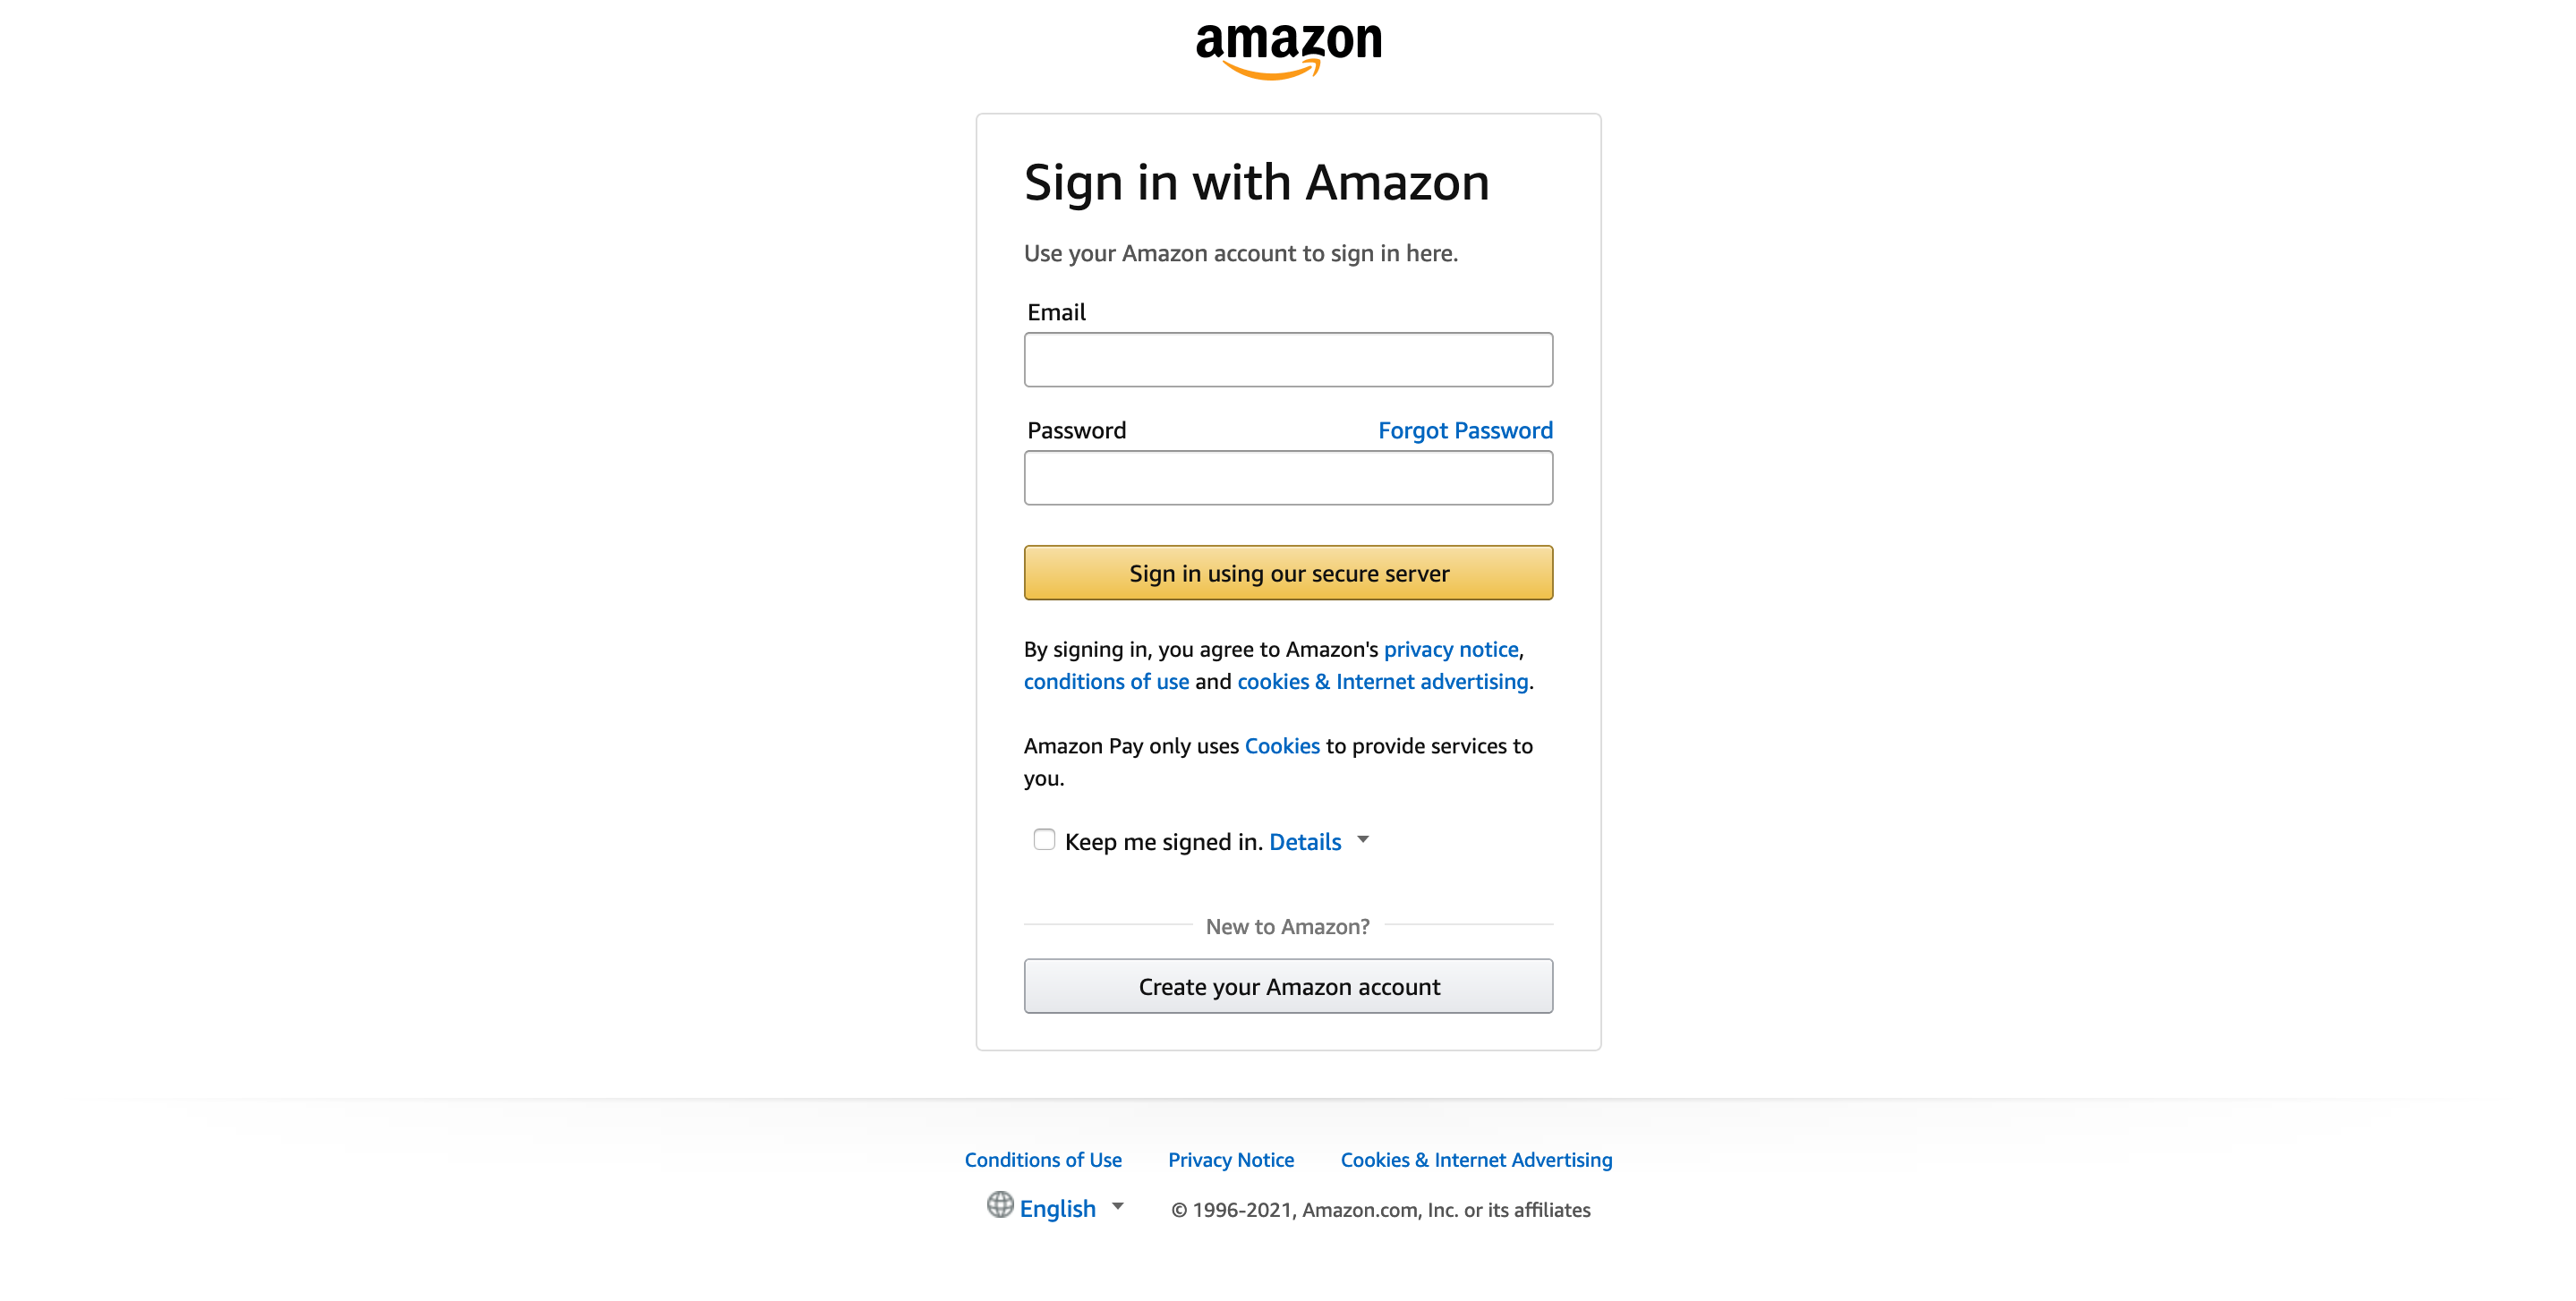
Pressing the Amazon Pay button launches the Amazon authentication window, where the customer is asked for their Amazon user account credentials.
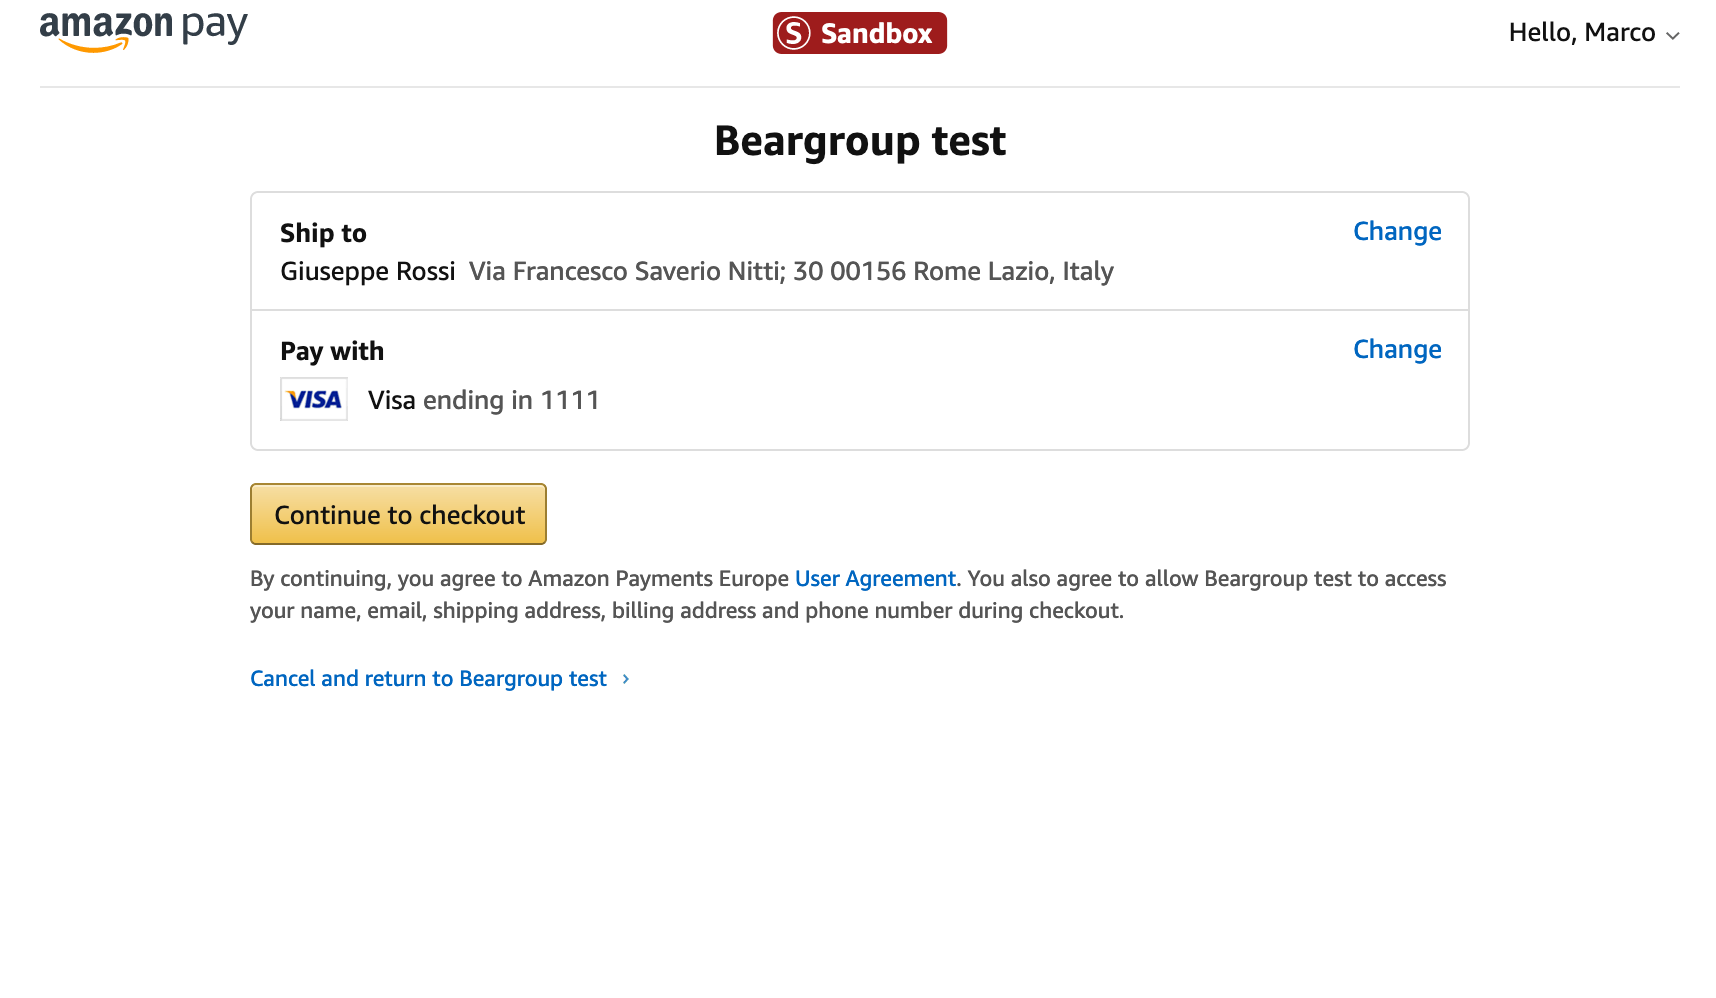
After a successful sign-in the customer is prompted to select an address and a payment method from their Amazon account, and then they are redirected to Magento checkout page.
Placing an order
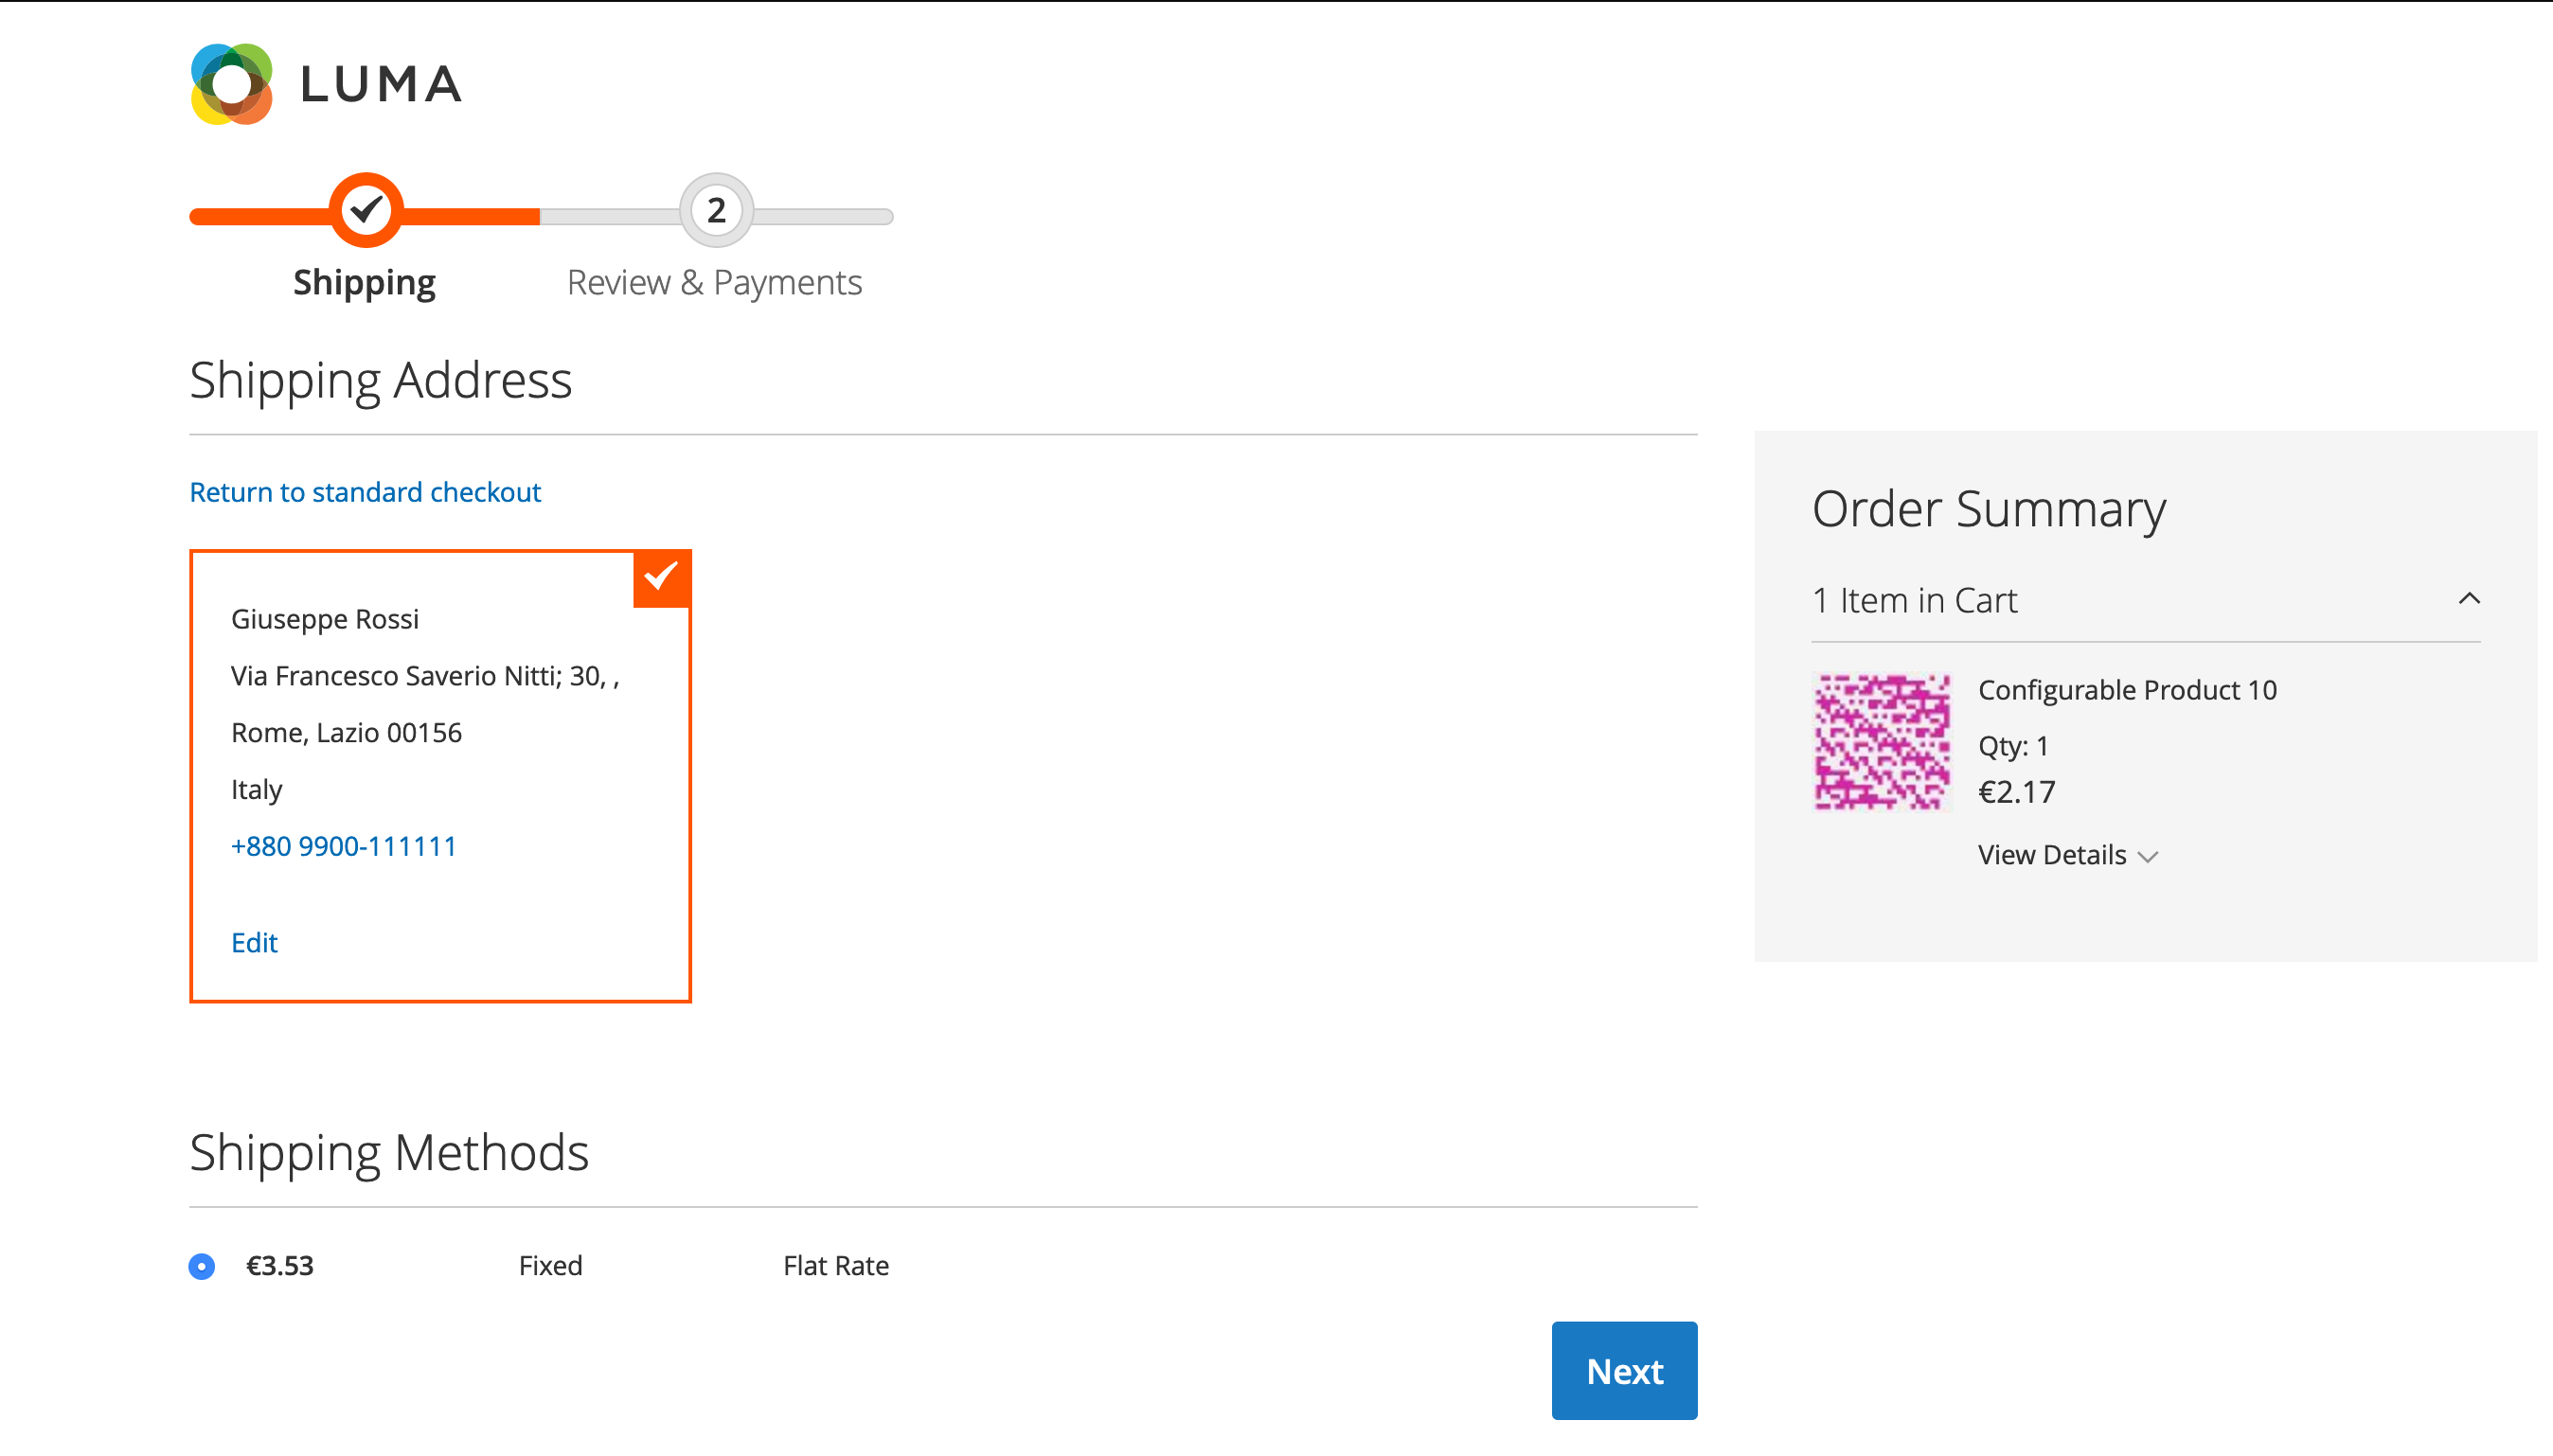
The Amazon Pay checkout uses the standard Magento 2 checkout. However, it automatically populates its forms with the data from the Customer's Amazon account (shipping address details and payment method).
On the shipping step of checkout, the address is taken from the Customer's Amazon account. The shipping address is editable in the Amazon hosted page after clicking the 'Edit' button.
On the payment step of checkout, the billing adddress associated to the payment method chosen on Amazon hosted page is shown and can be edited via Magento standard forms by clicking on 'Edit Billing Address' button. The customer can return to the Amazon hosted page with the 'Edit Payment Method' button.
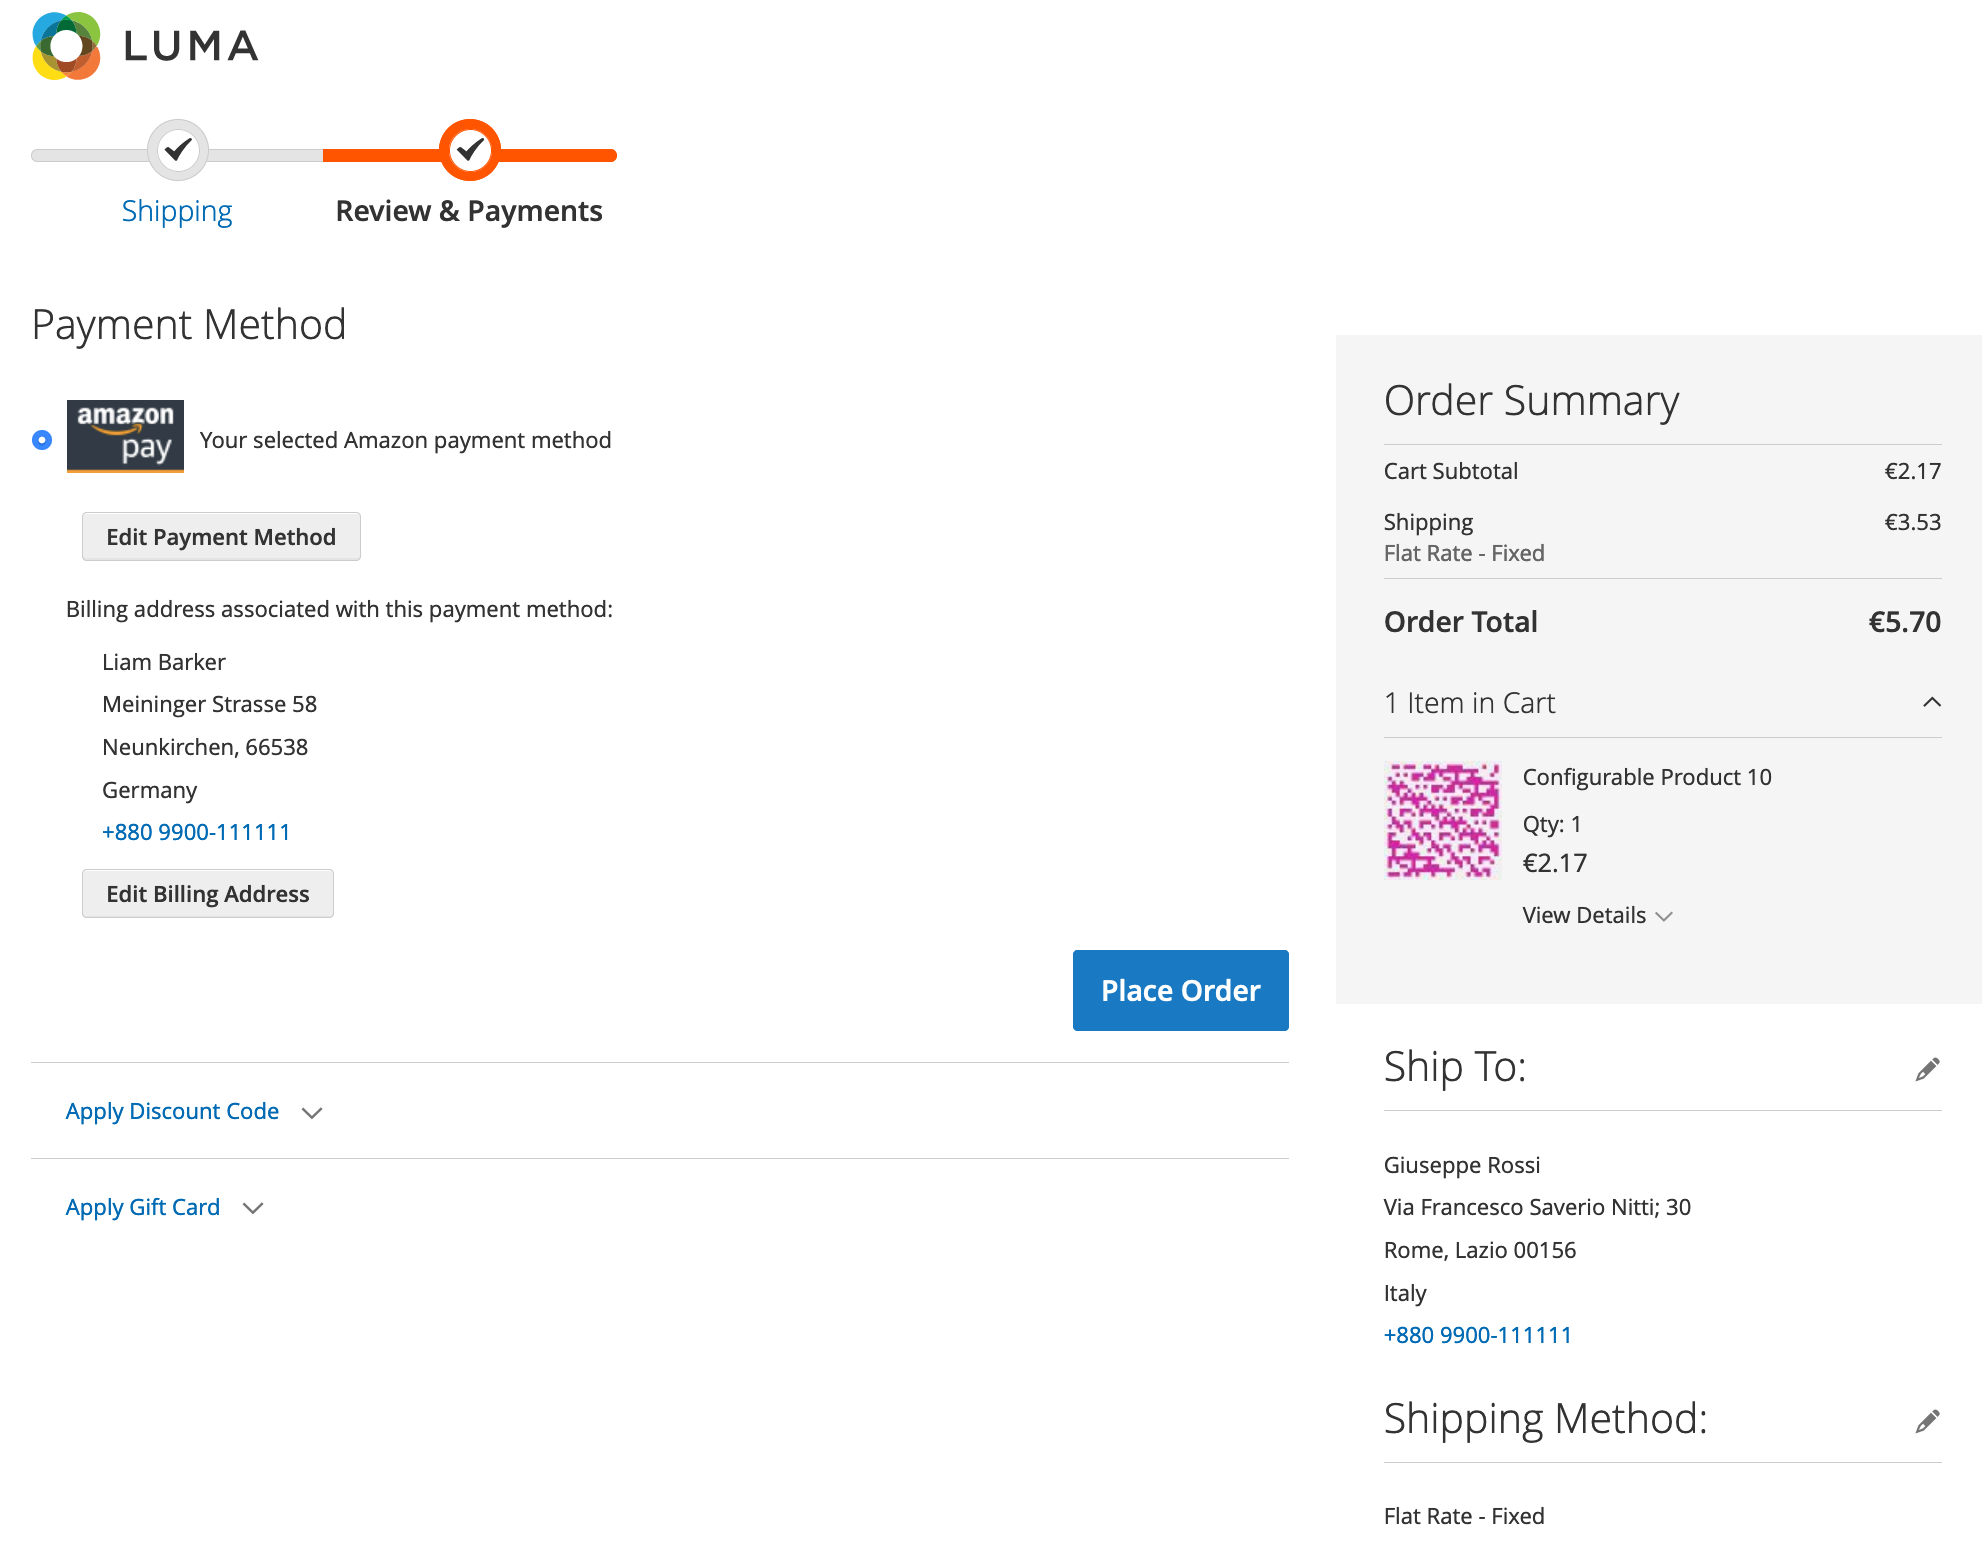
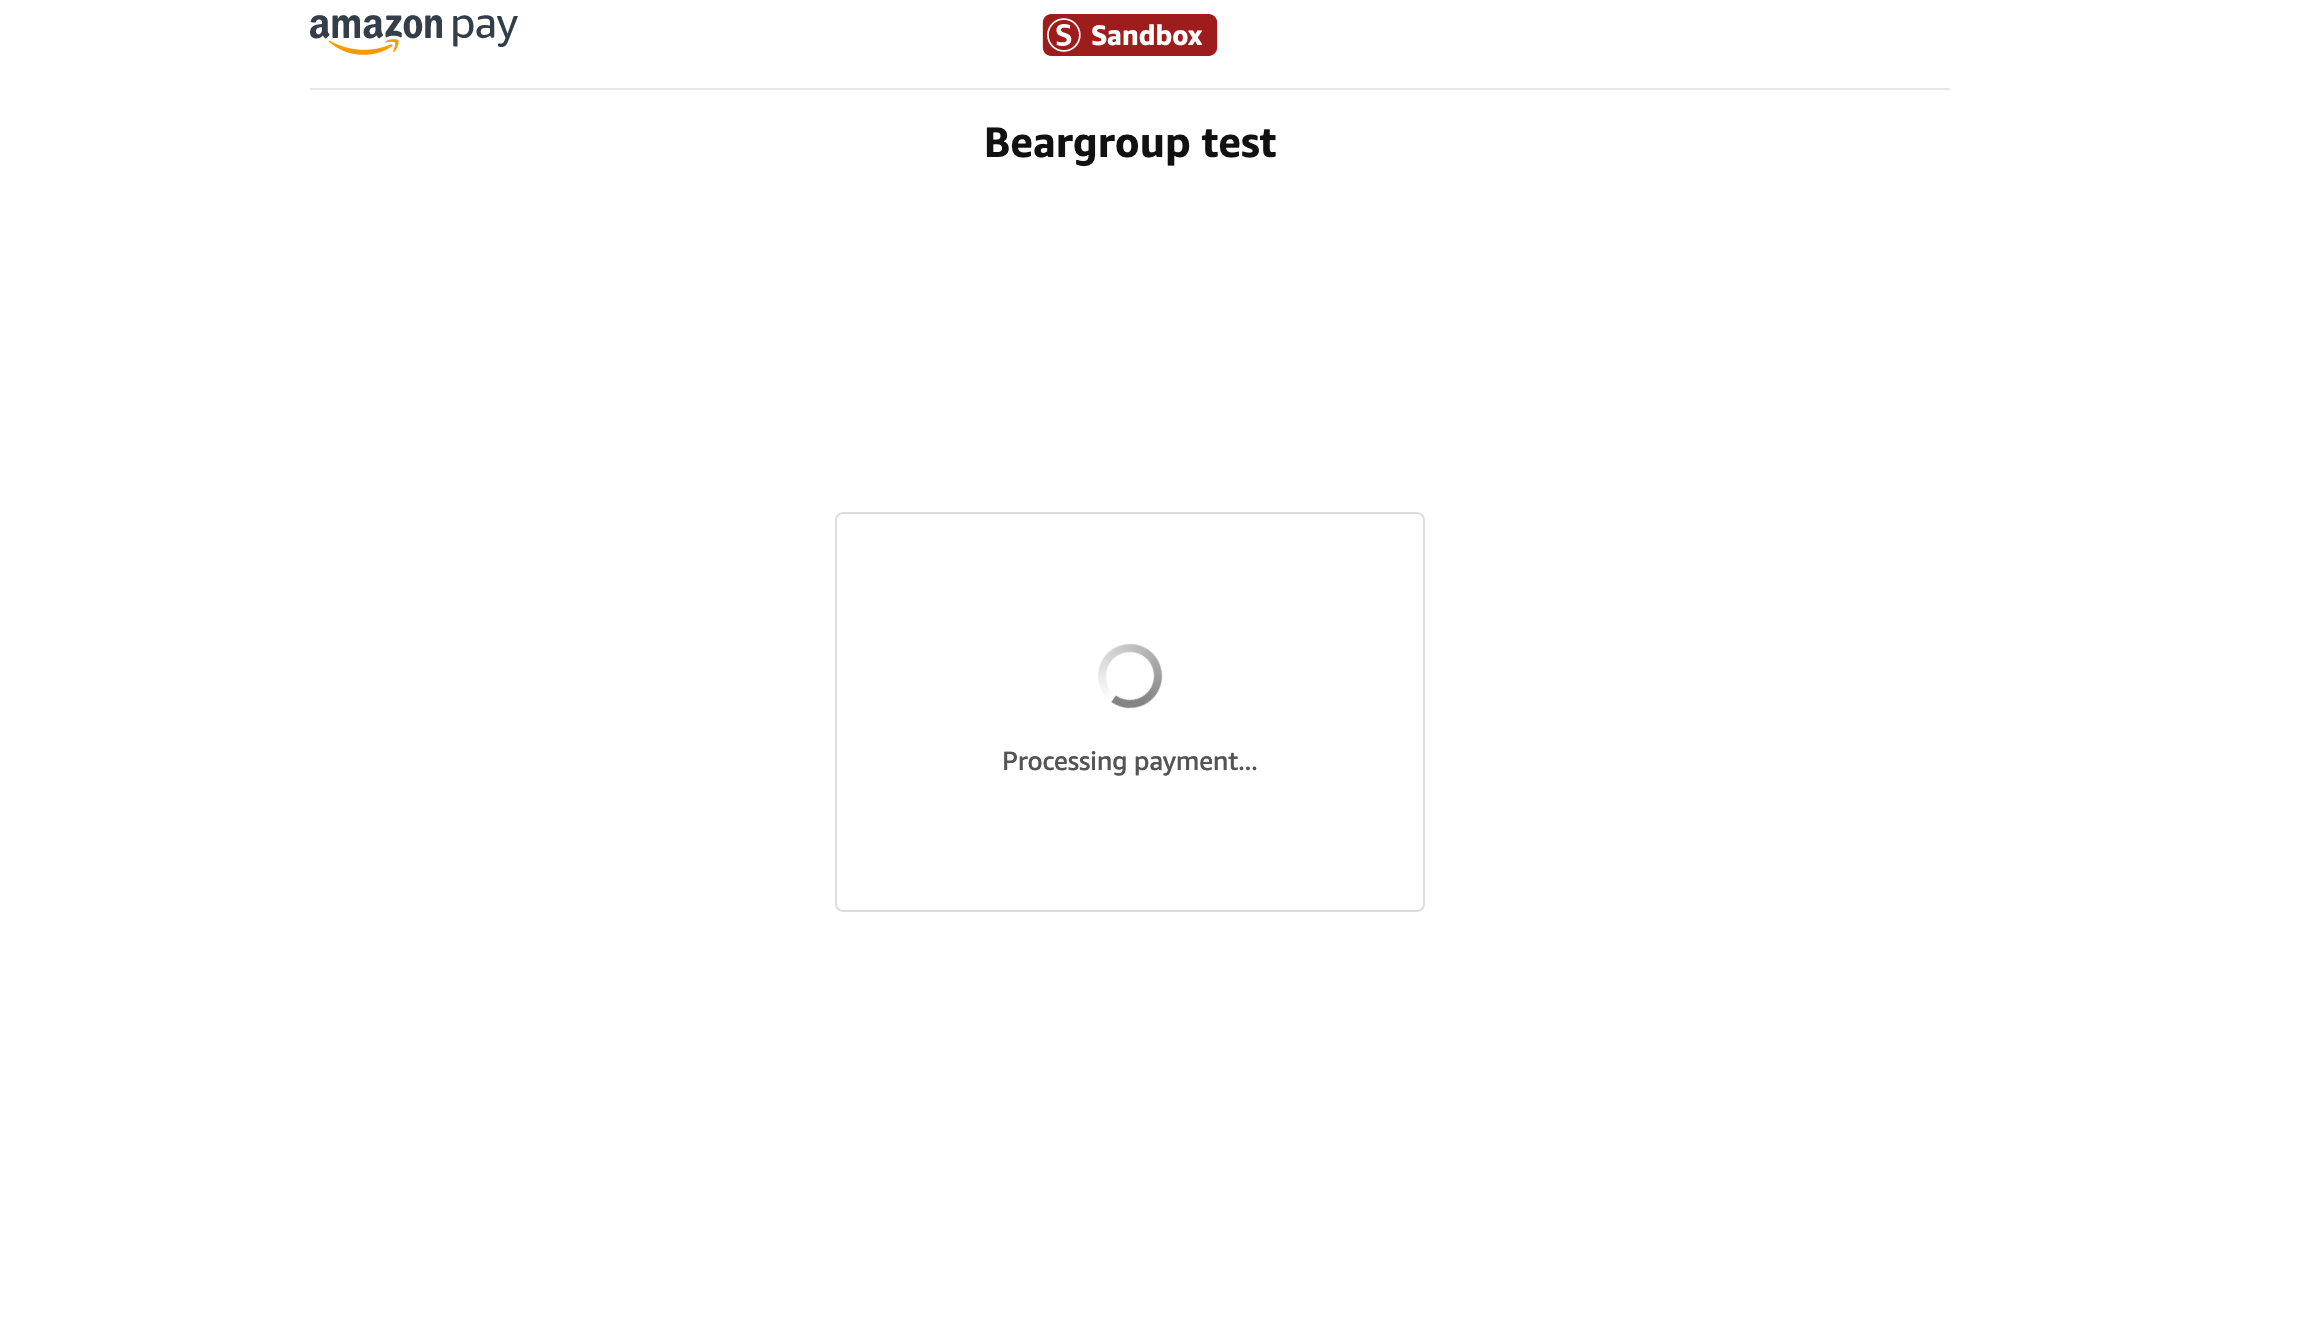
When the customers selects "Place Order", the buyer is redirected back to Amazon for Payment processing. PSD2 handling and Automatic Decline Handling are managed by Amazon Pay at this step.
Based on the final result of the transaction, the customer is then redirected to an order confirmation page or at the initial step of the checkout, exactly as it would happen in Magento 2 standard checkout.
Payment authorization
An authorization is automatically requested on order placement. There are two different authorization flows, Immediate and Automatic, as defined in Configuration.
Immediate
The customer will get instant feedback. There are 3 possible outcomes:
- Authorization OK - Order is placed and moves to Processing state. The customer is redirected to the standard Magento 2 confirmation screen.
- Soft Decline - The customer will still be inside an Amazon checkout and will be asked to update the selected payment method, select a new one and retry the payment or abandon the checkout (resulting in Authorization OK or Hard Decline).
- Hard Decline - Order is not placed, the Amazon Pay checkout will be left and the customer will be asked to select an alternative payment method for this order.
Automatic
In this mode, the extension will try to authorize the order immediately (as described above). If this fails due to a timeout, it will fallback to an asynchronous authorization (returns Pending state with a Payment Review status).
The customer will always be redirected to the standard Magento 2 confirmation screen as authorization state will be processed by Amazon Pay after the order is placed.
A status update on the state of the authorization will be delivered via Polling or IPN depending on Configuration. There are 2 possible outcomes of this process:
- Authorization OK - Order moves to state Processing
- Hard Decline - Authorization is declined, Order moves to state Canceled. Customer is emailed with instructions to contact the merchant.
Payment capture
Orders placed with Charge on Order mode enabled will automatically be captured. For orders placed using Charge on Shipment you will need to raise an invoice. To do this, the following steps are required:
- Log in to the Magento 2 admin
- Open the order for which you want to capture payment and click the Invoice link located in the top row. Please make sure that the payment you want to capture has an open authorization transaction and is in the Processing state.
- Submit the invoice form ensuring the Capture Online option above the Submit Invoice button is selected.
Warning
It is vital that Capture Online is selected as otherwise Amazon Pay will not be instructed to capture the payment, resulting in you not receiving any funds.
Note
We recommend creating the invoice and capturing the payment online within 7 days from order creation. After 7 days, the status of the created invoice and of the payment capture will be Pending and be updated at a later time with either Polling or IPN, depending on your Configuration.
In case there is an issue while capturing the payment, a notification will be added to Magento 2 to make you aware of it.
Payment refund
The order, which payment has been captured for, can be refunded either fully or partially. Refunds are made against invoices and thus having a paid invoice assigned to the order is a necessary condition that has to be met to refund any order item.
Refunds in Magento 2 are recorded as credit memos. To request a refund with Amazon Pay, you simply need to create a credit memo. To create a credit memo, login to the Magento 2 admin, open the order you want refund, click the Invoices tab on the left, select an invoice you want to refund and click on it.
A preview of the selected invoice will appear. Make sure that you are on the single invoice preview page and click the Credit Memo button.
A new credit memo form will appear with most of the crucial data (like product quantities to be refunded) already filled in.
If you want to refund the invoice partially (i.e. only a part of the invoiced items) adjust the product quantities to be refunded (set 0 for items that shall not be refunded) and click the Update Qty’s button to update refund totals. You can also set the refunded items back to stock by checking Return to Stock checkbox.
Next choose if you want to refund shipping costs or apply any refund adjustments and fill in the appropriate fields. Before submitting the credit memo form, double check that you have the Refund button available and click it. A credit memo will be created and a refund will be requested with Amazon Pay.
Refunds will always be initially accepted as the vast majority of the time there will be no issue. However, if there is a problem after the refund has been issued, a notification will be added to Magento 2 to make you aware there has been a problem refunding the customer.
Warning
Always use the Refund button available on the new credit memo form invoked from the single invoice preview page. If you click Credit Memo button directly on the order page you will be redirected to the new credit memo form with Refund offline button only, which will appear to be successful. However it will not notify Amazon Pay and the customer will not receive their refund.